
These snowman crafts for kids keep little hands busy from the first cold snap of late November until the last gray day of February. Below are 20 easy ideas, from paper plate and sock snowmen to ornaments, a fizzing melting snowman experiment and sweet gifts kids can give. Each one lists the difficulty, cost, time, best ages, materials and simple steps.
Snowmen are one of the most forgiving shapes a child can make: three circles, two eyes and a carrot nose, and it already looks right. That makes them perfect for toddlers who are just learning to glue and for older kids who want to add their own personality with scarves, hats and silly faces. Better still, a snowman is not tied to one holiday, so these projects work for Christmas parties, winter break, classroom centers and snow days alike.
Jump to
- Supplies for Snowman Crafts
- Paper and Paper Plate Snowman Crafts
- Recycled and Sock Snowman Crafts
- Snowman Ornaments Kids Can Make
- Snowman Sensory Play and Science
- Snowman Gifts Kids Can Make
- Snowman Crafts by Age
- Safety Tips for Snowman Crafts
- Snowman Crafts for Kids FAQ
Supplies for Snowman Crafts
Most snowman crafts use the same short list of supplies, so it is worth setting up one winter craft bin and pulling from it all season. White, black and orange are the only colors you truly need; everything else is a bonus.
- White paper plates, white and blue cardstock, and black and orange construction paper
- Cotton balls, cotton pads, white pom-poms or polyester fiberfill for fluffy texture
- Washable white paint, plus foam brushes, sponges and cotton swabs
- White school glue and glue sticks for kids, and a low-temp glue gun for adults (or supervised kids 8+)
- Buttons, googly eyes, small pom-poms and pipe cleaners (for ages 3+ only)
- Felt or fabric scraps for scarves and hats, and ribbon or twine for hanging
- Recycled extras: toilet paper rolls, clean white socks, plastic cups, jar lids and an old muffin tin for paint
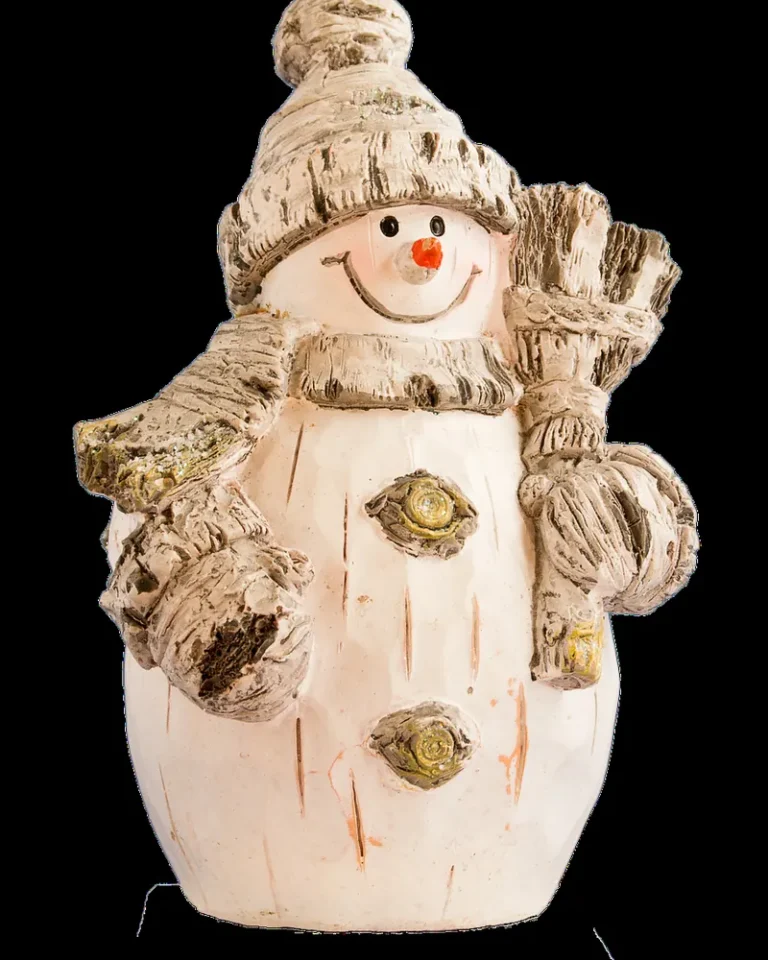
Keep a small dish of pre-cut orange triangles and black dots ready. Kids love building the face, and having the pieces cut ahead of time means even a two-year-old can finish a snowman before their attention runs out.
Paper and Paper Plate Snowman Crafts
Paper snowmen are the cheapest and fastest place to start. They are ideal for classrooms because you can prep 25 kits in a few minutes. For dozens more plate projects, see our paper plate crafts for kids.
1. Paper Plate Snowman
Difficulty: Easy · Cost: under $1 · Time: 20 minutes · Ages: 3+
Materials: 2 white paper plates (one small, one large), black and orange paper, a fabric scrap, glue, markers
- Glue the small plate above the large plate so they overlap a little.
- Cut a black top hat and an orange carrot nose from paper and glue them on.
- Draw eyes and a coal smile with a marker or glue on black dots.
- Tie or glue a strip of fabric where the plates meet for a scarf.
Tip: Let kids sponge a little blue paint around the edges first so the snowman looks like he is standing in falling snow.
2. Torn Paper Snowman Collage
Difficulty: Easy · Cost: under $1 · Time: 20 minutes · Ages: 2+
Materials: blue cardstock, white tissue or printer paper, a glue stick, orange and black paper scraps
- Draw three circles on blue cardstock with a pencil.
- Have kids tear white paper into small pieces.
- Cover one circle at a time with glue stick and press the torn pieces on.
- Add a paper nose, eyes and buttons, then tear tiny white bits for snow around him.
Tip: Tearing paper builds the same finger strength kids need for writing, so this is a favorite with preschool teachers.
3. Melted Snowman Picture
Difficulty: Easy · Cost: under $1 · Time: 25 minutes plus drying · Ages: 3+
Materials: blue cardstock, white puffy paint or white paint mixed with glue, a paper carrot nose, buttons, a small paper hat
- Pour a puddle-shaped blob of white puffy paint near the bottom of the card.
- Spread it with a craft stick into a lumpy melted shape.
- While it is wet, press in a carrot nose, two button eyes and a little hat lying on its side.
- Let it dry flat overnight and add a caption like “Snow much fun!”
Tip: Older kids can draw a warm sun in the corner to tell the story of why the snowman melted.
4. Paper Bag Snowman Puppet
Difficulty: Easy · Cost: under $1 · Time: 25 minutes · Ages: 4+
Materials: a white lunch bag (or a brown one painted white), paper scraps, a fabric strip, glue, markers
- Lay the bag flat with the folded bottom flap facing up; this is the snowman head.
- Glue on eyes, a carrot nose and a smile so the mouth opens with the flap.
- Add a paper hat on top and a fabric scarf below the flap.
- Slip a hand inside and put on a snowman puppet show.
Tip: Pair the puppet with a favorite winter picture book and let kids retell the story with their snowman.
5. Accordion Arm Snowman Card
Difficulty: Medium · Cost: under $1 · Time: 30 minutes · Ages: 5+
Materials: folded white cardstock, white and colored paper strips, glue, markers
- Cut a snowman shape from white cardstock and glue it to the front of a folded card.
- Fold two thin paper strips back and forth like a fan to make bouncy arms.
- Glue the arms to the sides so they spring out when the card opens.
- Write a winter message inside for a grandparent or teacher.
Tip: Use the same card idea for holiday thank-you notes, and browse more card projects in our Christmas crafts for kids roundup.
Recycled and Sock Snowman Crafts
Look in the recycling bin before you head to the craft store. Tubes, cups and lonely socks turn into some of the cutest snowmen you will make all winter.
6. Toilet Paper Roll Snowman
Difficulty: Easy · Cost: free · Time: 20 minutes plus drying · Ages: 3+
Materials: 1 toilet paper roll, white paint, a pipe cleaner, a pom-pom, felt or paper scraps, glue
- Paint the roll white and let it dry.
- Glue on black dots for eyes and buttons and an orange paper nose.
- Bend a pipe cleaner over the top and press a pom-pom on each end for earmuffs.
- Wrap a felt strip around the neck for a scarf.
Tip: Make a whole family of snowmen in different heights by trimming some rolls shorter.
7. No-Sew Sock Snowman
Difficulty: Medium · Cost: about $2 · Time: 30 minutes · Ages: 6+ (adult helps with rubber bands)
Materials: 1 clean white crew sock, about 2 cups of uncooked rice, 2 or 3 rubber bands, buttons, a felt or sock scrap, fabric glue
- Cut the sock just above the heel; the tube becomes the body.
- Turn it inside out, close one end with a rubber band and turn it right side out again.
- Fill it with rice, then twist on rubber bands to form a head and body and close the top.
- Use the cut-off toe as a hat, tie on a felt scarf and glue on buttons and a nose.
Tip: Use rice, never small beads, and close the top tightly. Keep these finished snowmen away from babies and toddlers.
8. Plastic Cup Snowman Lantern
Difficulty: Easy · Cost: about $1 · Time: 20 minutes · Ages: 4+
Materials: 2 or 3 white plastic cups, a battery tea light, black and orange paper, glue
- Draw or glue a snowman face on one white cup.
- Glue the rim of a second cup to the bottom of the first to make a taller body, if you like.
- Cut a small paper hat and glue it on top.
- Place a battery tea light underneath for a glowing window decoration.
Tip: Only use battery tea lights. Real candles and plastic cups do not mix.
9. Jar Lid Snowman Magnets
Difficulty: Easy · Cost: under $1 · Time: 20 minutes plus drying · Ages: 4+
Materials: 3 metal jar or juice lids, white paint, a strip of cardboard, a magnet strip, markers, glue
- Paint the tops of three lids white and let them dry.
- Glue them in a stacked row onto a cardboard strip.
- Draw eyes, a nose and buttons with a paint pen or marker.
- Stick a magnet strip on the back and hang it on the fridge.
Tip: An adult should check the lid edges first and file or tape any sharp spots.
Snowman Ornaments Kids Can Make
Snowman ornaments are a lovely way to save a child’s work, because they come out of the box every December. Write the child’s name and year on the back of each one so you can watch their snowmen change as they grow.
10. Fake Snow Ornament Snowman
Difficulty: Easy · Cost: about $1 each · Time: 15 minutes · Ages: 4+
Materials: a clear plastic fillable ornament, fake snow or white pom-poms, paint pens, a small ribbon
- Pop the top off the ornament and fill it with fake snow or white pom-poms.
- Put the top back on and add a dot of glue to keep it closed.
- Draw eyes, a carrot nose and a smile with paint pens.
- Tie a ribbon scarf around the top and hang it on the tree.
Tip: Plastic ornaments are much safer than glass for kids and survive being dropped.
11. Salt Dough Snowman Ornament
Difficulty: Medium · Cost: under $1 · Time: 45 minutes plus baking · Ages: 4+
Materials: 1 cup flour, 1/2 cup salt, about 1/2 cup water, white and orange paint, a straw, ribbon
- Mix the dough, knead it smooth and roll it about 1/4 inch thick.
- Cut three overlapping circles or use a snowman cookie cutter.
- Poke a hanging hole with a straw, then let an adult bake it at about 200°F for 2 to 3 hours until hard.
- Paint the snowman, let it dry and add a ribbon loop.
Tip: Salt dough is not food. Supervise closely so little ones do not taste it, because the salt can make pets and children sick.
12. Popsicle Stick Snowman Ornament
Difficulty: Easy · Cost: under $1 · Time: 20 minutes plus drying · Ages: 3+
Materials: 3 jumbo craft sticks, white paint, felt scraps, a pipe cleaner, glue, markers
- Glue three sticks side by side on a scrap strip of cardboard.
- Paint them white and let them dry.
- Draw a face across the top and add buttons below.
- Glue on a felt hat and scarf and a pipe cleaner loop for hanging.
Tip: Glue a small magnet on the back instead of a loop and it doubles as a fridge snowman.
13. Button Snowman Ornament
Difficulty: Medium · Cost: about $1 · Time: 25 minutes · Ages: 6+
Materials: 3 white buttons in graduated sizes, a pipe cleaner or strong thread, a tiny felt scarf, glue
- Thread the large, medium and small buttons onto a pipe cleaner from biggest to smallest.
- Twist the top of the pipe cleaner into a hanging loop.
- Glue a thin felt scarf between the top two buttons.
- Dot on eyes and a nose with a paint pen.
Tip: Buttons are a choking hazard, so save this one for kids who no longer put things in their mouths.
Snowman Sensory Play and Science
Not every snowman has to end up on the fridge. These hands-on activities are about the process, and they are great when kids need to burn off energy indoors on a cold day.
14. Puffy Paint Snowman
Difficulty: Easy · Cost: under $1 · Time: 20 minutes plus drying · Ages: 2+
Materials: equal parts white school glue and shaving cream, a few drops of water, blue cardstock, paper nose and hat
- Stir the glue and shaving cream together into a fluffy paint.
- Let kids paint three snowman circles with fingers or a brush.
- Press on a paper nose, hat and buttons while it is wet.
- Dry flat overnight; it puffs up and feels squishy like real snow.
Tip: This is the toddler-friendly alternative to cotton balls and keeps the whole craft in one big, easy shape.
15. Build-a-Snowman Play Dough Mat
Difficulty: Easy · Cost: under $1 · Time: 15 minutes · Ages: 2+ with supervision
Materials: white play dough, a printed or hand-drawn snowman mat in a sheet protector, large buttons, short sticks
- Slide the mat into a sheet protector or laminate it.
- Roll three dough balls and press them onto the outline.
- Add stick arms and large buttons for eyes and a mouth.
- Squash and rebuild as many times as you like.
Tip: Use only buttons too big to fit through a toilet paper roll for under-threes. Our easy crafts for toddlers has more low-mess ideas.
16. Melting Snowman Science Experiment
Difficulty: Easy · Cost: about $1 · Time: 20 minutes · Ages: 4+
Materials: baking soda, a little water, a tray, white vinegar in a squeeze bottle or cup, food coloring, buttons and a paper nose
- Mix baking soda with just enough water to pack it like wet snow.
- Shape a small snowman on a tray and decorate with buttons and a nose.
- Add a few drops of food coloring to the vinegar.
- Let kids squirt the vinegar on the snowman and watch it fizz and “melt.”
Tip: Explain the reaction in simple words: an acid and a base mix and make carbon dioxide bubbles. Keep vinegar away from eyes.
17. Snowman Cup Bowling
Difficulty: Easy · Cost: about $1 · Time: 20 minutes · Ages: 3+
Materials: 6 to 10 white plastic cups, a black marker, orange paper, a soft ball
- Draw a snowman face on each cup and glue on a tiny orange nose.
- Stack the cups in a pyramid on the floor.
- Take turns rolling a soft ball to knock the snowmen down.
- Count how many fall to add a little math practice.
Tip: Write numbers on the cups and have older kids add up their score.
Snowman Gifts Kids Can Make
Kids love giving something they made themselves. These snowman gifts are simple enough for little hands and sweet enough that grandparents and teachers will keep them.
18. Snowman Soup Gift Bag
Difficulty: Easy · Cost: about $2 · Time: 15 minutes · Ages: 4+
Materials: a clear treat bag or mug, 1 packet of hot cocoa mix, mini marshmallows, a candy cane, a printed or handwritten poem tag, ribbon
- Place the cocoa packet and a handful of mini marshmallows in the bag or mug.
- Add a candy cane as the stirring stick.
- Tie it closed with ribbon.
- Attach a tag that reads “Snowman Soup: add hot water, stir and enjoy a cozy day!”
Tip: This makes a quick classroom swap gift. Check for nut and food allergies before giving food gifts at school.

19. Handprint Snowman Keepsake
Difficulty: Easy · Cost: under $1 · Time: 15 minutes plus drying · Ages: 1+
Materials: white washable paint, dark blue or black cardstock, a fine marker, orange and black paint
- Brush white paint on the child’s palm and fingers.
- Press the hand onto the card, fingers pointing down; each finger becomes a little snowman.
- Once dry, add faces, carrot noses and hats with a fine brush or marker.
- Write the child’s name and the year along the bottom.
Tip: Frame it or turn it into a card. For more keepsake ideas, see our handprint crafts for kids.
20. Painted Snowman Treat Jar
Difficulty: Medium · Cost: about $2 · Time: 30 minutes plus drying · Ages: 5+
Materials: a clean glass jar or plastic container, white acrylic paint, a sock or felt for the hat, ribbon, a paint pen
- Paint the outside of the jar white; two coats give a solid snowman look.
- Draw eyes, a carrot nose and coal smile with a paint pen once it is dry.
- Cut the cuff from an old sock and stretch it over the lid as a hat.
- Tie a ribbon scarf around the neck and fill it with cookies or pom-poms.
Tip: Use a plastic container for younger kids, and let an adult handle any glass.
Snowman Crafts by Age
Toddlers (ages 1 to 3)
Choose big, simple projects with no small parts: the torn paper collage, puffy paint snowman, handprint snowman and play dough mat with extra-large buttons. Short sessions of 10 to 15 minutes work best, and it is fine if the snowman ends up with six eyes.
Preschoolers (ages 3 to 5)
Preschoolers can glue, sponge paint and follow two or three steps. Try the paper plate snowman, toilet paper roll snowman, popsicle stick ornament, snowman bowling and the melting snowman experiment. Pre-cut the noses and hats so they can focus on building and decorating.
School-age kids (ages 6 to 12)
Older kids can measure, cut and work more independently. The sock snowman, button ornament, salt dough ornament, accordion card and treat jar are great choices. Challenge them to invent a snowman family with different hats or to design a snowman for each person in the house.
Safety Tips for Snowman Crafts
- Keep buttons, googly eyes, pom-poms, beads and rice away from children under three. They are common choking hazards.
- Use washable, non-toxic paints and glues, and protect the table with a plastic cloth or old newspaper.
- Adults handle hot glue guns, ovens and craft knives. Kids 8 and up can use a low-temp glue gun with close supervision.
- Remind kids that salt dough, puffy paint and play dough are not food, even if they smell good.
- Choose battery tea lights only for any lantern or glowing craft.
- Wash hands after painting and before snack time.
Snowman Crafts for Kids FAQ
What is the easiest snowman craft for preschoolers?
The paper plate snowman and the toilet paper roll snowman are the easiest. Both use a few supplies, take about 20 minutes and look like a snowman even if the pieces go on a little crooked.
How do you make a snowman craft without cotton balls?
Try puffy paint made from equal parts white glue and shaving cream, torn white paper, white paint sponged on with a cotton swab, or a paper plate base. All of them give a snowy look without cotton balls.
What snowman crafts can toddlers do?
Toddlers do best with the torn paper collage, puffy paint snowman, handprint snowman and a play dough mat with large pieces. Skip small buttons and googly eyes and stay close while they work.
Are snowman crafts good for Christmas or just winter?
Both. Snowman ornaments and gifts fit right in with Christmas, while paper, sock and science snowmen work all winter long, so you can keep using these ideas through January and February.
How do you make a sock snowman without sewing?
Fill a white sock tube with uncooked rice, close it with rubber bands, twist another band to shape the head, and use the sock toe as a hat. Fabric glue holds the buttons and scarf in place.
For more seasonal projects, browse the full Kids Crafts category.
Prices are approximate and were checked at the time of writing.
