
These winter crafts for kids are made for the long, chilly stretch between the first frost and the first signs of spring. Below are 18 easy ideas, including paper and popsicle stick snowflakes, mitten garlands, paper plate penguins, cotton ball polar bears, a marshmallow igloo, puffy paint snow and pinecone bird feeders. Each one lists the difficulty, approximate cost, time, best ages, materials and simple steps.
Winter projects are great because they don’t expire on December 26. Snowflakes, mittens and arctic animals work from late November all the way through February, so you can use them for snow days, classroom winter parties, holiday breaks and indoor recess. Most of them use white paper, cotton balls, paper plates, craft sticks and glue you probably already have.
Jump to
- Supplies for Winter Crafts
- Snowflake Crafts for Kids
- Mitten and Hat Crafts
- Winter Animal Crafts
- Snowy Scene and Sensory Crafts
- Winter Crafts by Age
- Safety Tips
- Winter Crafts for Kids FAQ
Supplies for Winter Crafts
Fill one winter bin and you can set up a project in a few minutes. White, light blue, silver and black do most of the work, with a pop of red or orange for scarves, mittens and penguin beaks.
- White, light blue, navy, black and orange construction paper or cardstock
- Coffee filters, white paper plates, paper towel and toilet paper tubes
- Cotton balls, cotton swabs (Q-tips), white pom-poms and mini marshmallows
- Jumbo craft sticks, white pipe cleaners and pony beads
- Washable glue, glue sticks, school glue, child-safe scissors and a hole punch
- Washable watercolors, tempera paint, white crayons and painter’s tape
- Yarn, string, foam shaving cream, Epsom salt or table salt and glitter alternatives like iridescent paper
A typical winter craft costs $0 to $3 per child when you use pantry and recycling-bin supplies. A basic $15 to $20 craft haul from a dollar store or big-box store covers a whole family for the season.
Snowflake Crafts for Kids
Snowflakes are the easiest place to start, and they come with a built-in science lesson. Real snow crystals form around a tiny speck of dust or pollen high in a cloud and grow six arms as water vapor freezes onto them, which is why so many snowflakes have six-sided symmetry. You can read the science in NOAA’s guide to how snowflakes form and then challenge kids to make every craft snowflake with six arms.
1. Folded Paper Snowflakes
Difficulty: Easy · Cost: $0 · Time: 15 minutes · Ages: 5–12
Materials: White printer paper or thin origami paper, child-safe scissors
- Fold a square of paper in half to make a triangle, then in half again.
- Fold the triangle into thirds so the edges overlap, then trim off the uneven top.
- Cut small shapes along both folded edges, leaving some fold uncut so the paper holds together.
- Unfold slowly and press flat under a heavy book.
Tip: Use thinner paper for younger kids. Coffee filters and copy paper are much easier to cut through than construction paper.
2. Popsicle Stick Snowflakes
Difficulty: Easy · Cost: $1–2 · Time: 20 minutes plus drying · Ages: 4–10
Materials: 6 jumbo craft sticks or 3 regular sticks per snowflake, white paint, glue, sequins or pony beads, string
- Paint the sticks white or light blue and let them dry.
- Glue three sticks crossing in the middle to make six arms, or glue small stick pieces in a star shape.
- Decorate the arms with sequins, beads or white dots.
- Glue a string loop to the back and hang in a window.
Tip: See more ideas in our popsicle stick crafts for kids roundup.
3. Watercolor Coffee Filter Snowflakes
Difficulty: Easy · Cost: $1 · Time: 20 minutes plus drying · Ages: 4–9
Materials: White coffee filters, washable markers or liquid watercolors, a spray bottle, scissors
- Fold the coffee filter into a cone and cut small shapes along the edges.
- Open it up and color with blue and purple markers.
- Mist lightly with water and watch the colors bleed together.
- Dry flat on a paper towel, then tape to a window so the light shines through.
Tip: Lay newspaper underneath. The color soaks through to whatever is below.
4. Q-Tip Snowflakes
Difficulty: Easy · Cost: $1 · Time: 15 minutes · Ages: 3–8
Materials: Cotton swabs, dark blue or black paper, glue, optional scissors for cutting swabs in half
- Squeeze a small dot of glue in the center of the paper.
- Place three whole swabs in a star shape through the center.
- Add halved swabs as little branches on each arm.
- Let dry flat before hanging.
Tip: An adult can cut the swabs in half ahead of time for preschoolers.
5. Salt Painting Snowflakes
Difficulty: Easy · Cost: $1 · Time: 25 minutes plus drying · Ages: 4–10
Materials: Cardstock, school glue in a squeeze bottle, table salt, liquid watercolors, a dropper or paintbrush
- Draw a snowflake on cardstock with a line of glue.
- Pour salt over the glue, then tip off the extra.
- Touch a paintbrush full of watercolor to the salt line and watch the color travel.
- Dry flat overnight.
Tip: Use heavy cardstock or a paper plate, since thin paper curls under all that glue.
6. Beaded Pipe Cleaner Snowflakes
Difficulty: Medium · Cost: $2 · Time: 20 minutes · Ages: 6–12
Materials: White or silver pipe cleaners, clear and blue pony beads, string
- Twist three pipe cleaners together at the center to make six arms.
- Thread pony beads onto each arm.
- Bend the tip of each arm into a small hook so the beads don’t slide off.
- Add a loop of string for hanging on a tree or window.
Tip: Great for fine motor practice. Skip it for kids under 3, since pony beads are a choking hazard.
Mitten and Hat Crafts
Mittens are a cozy shape kids recognize right away, and the matching-pair idea makes these crafts perfect for preschool counting and pattern games.
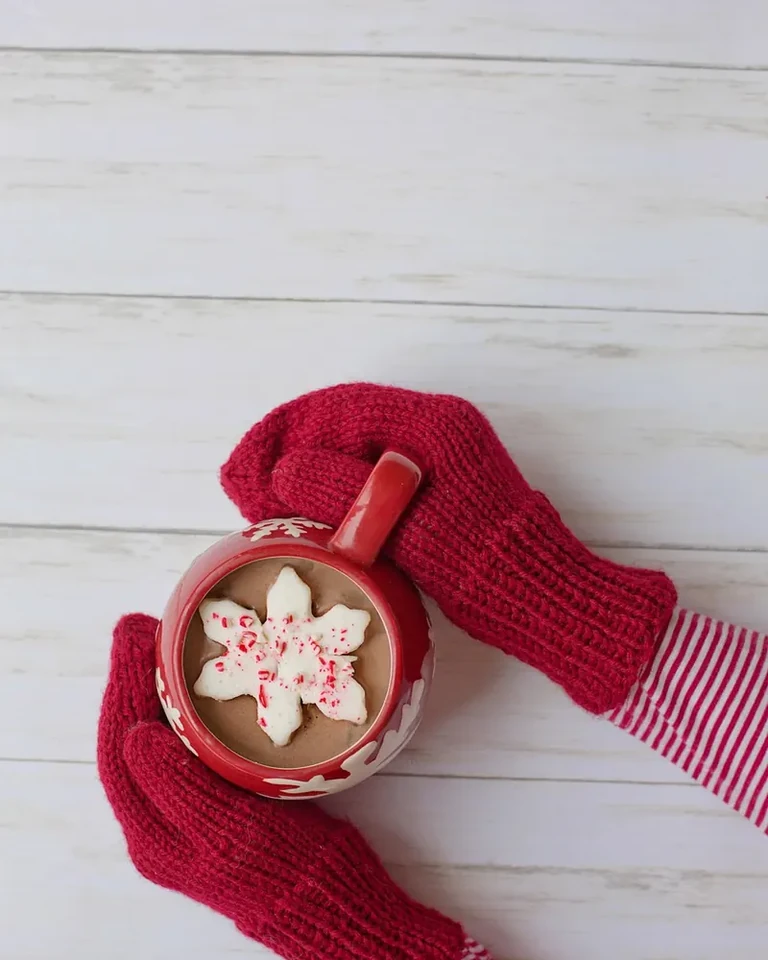
7. Paper Mitten Garland
Difficulty: Easy · Cost: $1 · Time: 25 minutes · Ages: 3–9
Materials: Colored cardstock, crayons or markers, a hole punch, yarn, mini clothespins
- Trace a child’s hand with fingers closed and the thumb out to make a mitten shape.
- Cut out two matching mittens and decorate them with stripes, dots or snowflakes.
- Punch a hole near the cuff and thread the pair onto a long piece of yarn.
- Hang the garland across a window or mantel.
Tip: Make one pair per family member and write names on the cuffs.
8. Felt Mini Mitten Ornaments
Difficulty: Medium · Cost: $2–3 · Time: 30 minutes · Ages: 7–12
Materials: Felt sheets, a mitten template, a plastic yarn needle, embroidery floss, cotton balls, ribbon
- Cut two matching felt mittens from a simple template.
- Stitch around the edge with a running stitch, leaving the cuff open.
- Stuff lightly with a little cotton and stitch the cuff closed.
- Glue a felt cuff on top and add a ribbon loop.
Tip: Younger kids can glue the edges together with tacky glue instead of sewing.
9. Puffy Paint Winter Hat
Difficulty: Easy · Cost: $1–2 · Time: 20 minutes plus drying · Ages: 3–7
Materials: Paper hat template, equal parts foam shaving cream and school glue, food coloring, a cotton ball pom-pom
- Mix shaving cream and glue in a bowl, then add a drop of color.
- Spread the puffy paint over the paper hat with a craft stick.
- Press a cotton ball on top for the pom-pom.
- Dry flat for a few hours. The paint puffs up and stays squishy.
Tip: Keep puffy paint away from mouths and eyes, and wash hands when finished.
Winter Animal Crafts
Penguins, polar bears, owls and arctic foxes are the stars of winter animal crafts. They are a good change from Christmas characters and keep working well into January. If you have reindeer fans, our reindeer crafts for kids pair nicely with these.
10. Paper Plate Penguin
Difficulty: Easy · Cost: $1 · Time: 25 minutes · Ages: 3–7
Materials: Paper plate, black paint or black paper, orange paper, googly eyes, glue
- Paint the outer edge of the plate black, leaving a white oval belly in the middle.
- Cut two flipper wings from black paper and glue them to the sides.
- Add orange feet and a small orange triangle beak.
- Glue on googly eyes.
Tip: Find more plate projects in our paper plate crafts for kids guide.
11. Cardboard Tube Penguin
Difficulty: Easy · Cost: $0 · Time: 20 minutes · Ages: 4–8
Materials: Toilet paper tube, black and white paper or paint, orange paper, eyes, glue
- Wrap the tube in black paper.
- Glue a white oval on the front for the belly.
- Add orange feet at the bottom and a tiny beak.
- Glue on eyes, then add a scrap of fabric for a scarf.
Tip: Make a whole penguin family in different sizes using paper towel tubes for the parents.
12. Cotton Ball Polar Bear
Difficulty: Easy · Cost: $1 · Time: 20 minutes · Ages: 2–6
Materials: Blue cardstock, a polar bear outline, cotton balls, glue, a black pom-pom nose
- Draw or print a simple polar bear outline on blue paper.
- Spread glue inside the outline a little at a time.
- Press cotton balls all over the bear.
- Add eyes and a black nose.
Tip: This is a great toddler sensory craft. Stay close, because cotton balls should stay out of little mouths.
13. Handprint Polar Bear and Penguin Card
Difficulty: Easy · Cost: $1 · Time: 15 minutes · Ages: 1–6
Materials: White and black washable paint, blue cardstock, a marker
- Paint a child’s palm and fingers white and press onto folded blue cardstock.
- Turn the card and add a black handprint next to it.
- Once dry, draw faces and ears to turn the white print into a polar bear and the black print into a penguin.
- Write the name and year inside.
Tip: Our handprint crafts for kids post has more keepsake ideas.
14. Paper Plate Snowy Owl
Difficulty: Easy · Cost: $1 · Time: 25 minutes · Ages: 4–8
Materials: Paper plate, white feathers or torn white paper, yellow and black paper, glue
- Fold the top of the plate down to make the owl’s head.
- Glue torn white paper or feathers over the body.
- Add big yellow and black eyes and a small beak.
- Glue on two paper feet.
Tip: Talk about how snowy owls fly south from the Arctic in some winters.
Snowy Scene and Sensory Crafts
These projects build a whole little winter world. They are perfect for snow days when everyone needs a bigger project to settle into.
15. Mini Marshmallow Igloo
Difficulty: Easy · Cost: $2 · Time: 20 minutes · Ages: 3–8
Materials: Paper plate or blue cardstock, mini marshmallows, glue, a penguin cutout
- Draw a dome shape on the paper with an arched door at the bottom.
- Glue rows of mini marshmallows from the bottom up, like bricks.
- Leave the door empty and add a tiny penguin cutout peeking out.
- Let it dry flat overnight.
Tip: Use the mini marshmallows for crafting only and keep a separate snack bowl so they stay clean.
16. Tape-Resist Winter Tree Painting
Difficulty: Easy · Cost: $1 · Time: 30 minutes · Ages: 4–10
Materials: Painter’s tape, watercolor paper, blue and purple watercolors, white paint
- Tape bare tree trunks and branches onto the paper.
- Paint the whole page in blues and purples.
- Dab white paint dots for falling snow.
- Once dry, peel off the tape to reveal white trees.
Tip: Press the tape down firmly so paint doesn’t seep under the edges.
17. Snow Globe Picture Craft
Difficulty: Easy · Cost: $1 · Time: 25 minutes · Ages: 4–9
Materials: Paper plate, clear plastic wrap or a clear sheet protector, photos or drawings, white hole-punch dots, tape
- Draw a winter scene in the center of the paper plate or glue on a family photo.
- Sprinkle white hole-punch dots on top for snow.
- Cover with plastic wrap and tape it to the back of the plate.
- Glue a paper base to the bottom to finish the snow globe.
Tip: This paper version is safer for little kids than a glass jar snow globe.
18. Pinecone Bird Feeder
Difficulty: Easy · Cost: $2 · Time: 20 minutes · Ages: 3–10
Materials: Pinecones, sunflower seed butter or vegetable shortening, birdseed, string
- Tie a string around the top of the pinecone.
- Spread sunflower seed butter or shortening into the scales.
- Roll the pinecone in birdseed.
- Hang it on a branch where you can watch the birds from a window.
Tip: Use sunflower seed butter instead of peanut butter if anyone in your home or class has a nut allergy. You’ll find more ideas in our pine cone crafts for kids post.
Winter Crafts by Age
Toddlers (1–3)
Stick with big, simple materials like cotton ball polar bears, handprint cards and Q-tip snowflakes with an adult handling the glue. Our easy crafts for toddlers list has more no-fuss ideas.
Preschool and Kindergarten (3–6)
Paper plate penguins, the marshmallow igloo, puffy paint hats and the mitten garland are just right. Pre-cut shapes and let them glue, paint and decorate.
Big Kids (6–12)
Try folded paper snowflakes, beaded pipe cleaner snowflakes, felt mittens and the tape-resist painting. Older kids also love building the snowman crafts for kids and gingerbread man crafts on our site.
Safety Tips
Winter crafts are low-risk, but a few small parts deserve attention. The American Academy of Pediatrics notes on HealthyChildren.org that children under 4 are at the highest risk of choking on small objects, so keep beads, pom-poms, googly eyes and marshmallows away from toddlers or supervise closely.
- Use child-safe scissors, and let adults handle craft knives and hot glue.
- Choose washable, non-toxic paint and glue, and cover the table first.
- Wash hands after using shaving cream, salt or glue-heavy projects.
- Use sunflower seed butter instead of peanut butter for bird feeders if there are nut allergies.
- If you hunt for pinecones or snow outdoors, dress kids in layers and limit time in very cold weather. The National Weather Service cold safety page explains frostbite warning signs.
Winter Crafts for Kids FAQ
What are easy winter crafts for preschoolers?
Paper plate penguins, cotton ball polar bears, the mitten garland and Q-tip snowflakes are the easiest. Each takes about 15 to 25 minutes and uses basic supplies.
What winter crafts can toddlers do?
Handprint polar bear cards, cotton ball polar bears and puffy paint hats work well for toddlers with close supervision and no small parts.
What can kids make on a snow day?
Folded paper snowflakes, the tape-resist winter tree painting, a marshmallow igloo and a pinecone bird feeder are perfect snow day projects.
Are winter crafts different from Christmas crafts?
Yes. Winter crafts focus on snow, mittens and arctic animals, so they work from November through February. For holiday-specific ideas, see our Christmas crafts for kids.
How do you make snowflakes with six points?
Fold a square into a triangle, fold it in half again, then fold into thirds before cutting. When you unfold it, the snowflake will have six points, just like real snow crystals.
For more seasonal projects, browse the full Kids Crafts category.
Prices are approximate and were checked at the time of writing.
